
The lower register of the bassoon, from low B-flat to about low E, is known for its rich, resonant, and warm tone. However, many bassoonists struggle with getting a clear, full-bodied sound in this range due to challenges like unstable air support, embouchure control, and finger technique.
In this article, we’ll explore effective techniques to improve your lower register tone, including proper air support, embouchure adjustments, reed selection, and fingering strategies.
1. Understanding the Challenges of the Lower Register
Playing in the bassoon’s lower range comes with unique difficulties:
- Resistance in tone production – Lower notes require more air support to resonate fully.
- Embouchure instability – Over-tightening can choke the sound.
- Response issues – Weak reeds or improper fingering can make low notes difficult to produce.
- Intonation problems – Low notes can be flat if not played with the right airspeed and voicing.
Addressing these issues requires a combination of proper technique, breath control, and equipment adjustments.
2. Developing Proper Air Support
Air support is the foundation for a strong and consistent low register sound. Without sufficient breath control, the tone will be weak and unstable.
A. Diaphragmatic Breathing
- Breathe deeply from the diaphragm, not just the chest.
- Engage your core muscles to control airflow.
- Avoid shallow breathing, as it leads to weak and airy low notes.
B. Air Speed and Pressure
- Low notes require steady, fast-moving air, not just more air volume.
- Imagine directing the air stream downward to help resonate the lower frequencies.
- Experiment with air pressure – too much pressure can cause overblowing, while too little leads to an unsupported tone.
C. Air Flow Exercises
- Play long tones on low notes with a focus on consistent air pressure.
- Gradually crescendo and decrescendo on low notes to build control.
- Practice playing low notes at different dynamic levels to improve response.
3. Adjusting Your Embouchure for the Lower Register
A flexible and relaxed embouchure is crucial for producing full, resonant low notes.
A. Common Embouchure Mistakes
❌ Too much tension – Over-tightening can choke the sound.
❌ Too little support – A loose embouchure can result in a weak, airy tone.
❌ Biting the reed – This restricts vibrations and muffles the sound.
B. Ideal Embouchure for Low Notes
✔ Relax your jaw and lips while maintaining control.
✔ Allow the reed to vibrate freely without excessive pressure.
✔ Drop your jaw slightly to create more resonance.
✔ Keep corners of the mouth firm but not overly tight.
C. Lip Positioning Exercises
- Play on just the reed to find the ideal embouchure flexibility.
- Experiment with jaw position by slightly lowering and raising it while holding a low note.
- Use a mirror to check for excessive tension.
4. Reed Selection and Adjustments for the Lower Register
The right reed can make a significant difference in tone production and response for low notes.
A. Characteristics of a Good Reed for Low Notes
- Medium-soft to medium-hard strength – Too hard and the notes won’t speak easily; too soft and they may lack depth.
- Well-balanced tip opening – Avoid reeds that are too closed or too open.
- Responsive low-end vibration – Test by playing long tones on low B-flat or B.
B. Adjusting Your Reed for Better Low Notes
- If the reed is too resistant: Slightly thin the heart to improve response.
- If the reed lacks depth: Adjust the spine and rails for more resonance.
- If low notes sound unstable: Clip a very small amount off the tip to increase stability.
C. Reed Break-In Process
- Always soak reeds properly before playing.
- Rotate between multiple reeds to prevent inconsistencies.
- Experiment with different reed styles to find the best fit for your playing style.
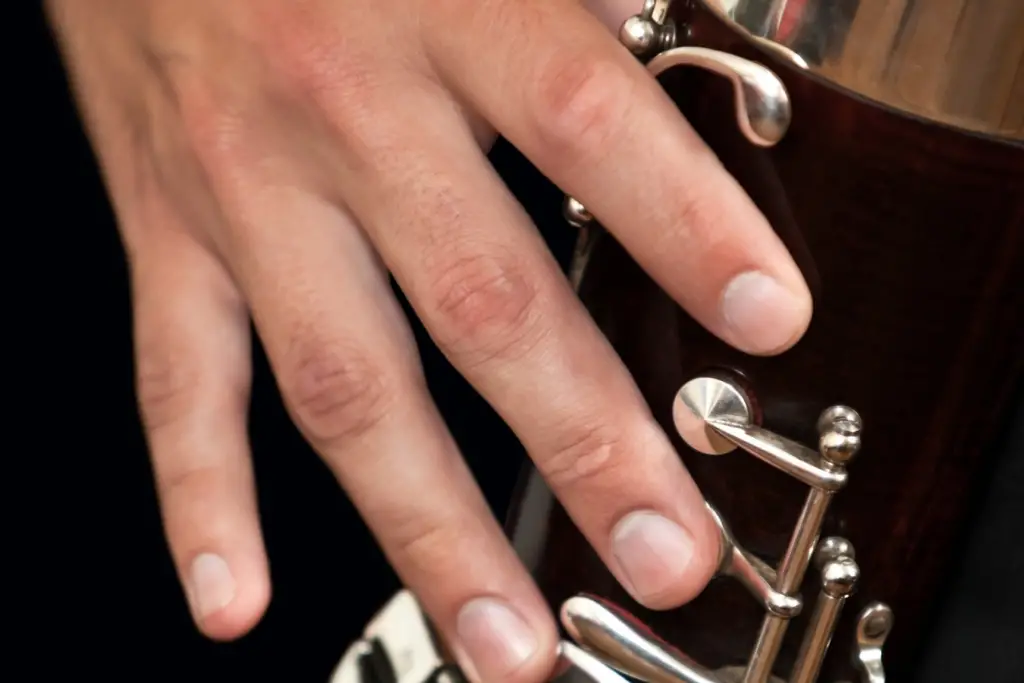
5. Finger and Hand Position for Clean Low Notes
Proper hand position and stable finger technique prevent unwanted buzzing, air leaks, and response issues.
A. Common Finger Mistakes
❌ Not fully covering tone holes – Leads to unclear or fuzzy sound.
❌ Too much finger tension – Slows down movement and causes inconsistencies.
❌ Incorrect hand positioning – Can lead to unintentional squeaks.
B. Correct Finger Placement
✔ Keep fingers curved and relaxed.
✔ Ensure tone holes are completely sealed.
✔ Use minimal finger motion for efficiency.
✔ Check for leaks in keypads that could affect response.
C. Low Note Finger Exercises
- Slur between low notes and middle register to develop smooth transitions.
- Practice slow chromatic scales focusing on clarity and consistency.
- Experiment with alternate fingerings for difficult low passages.
6. Articulation Tips for Clear Low Notes
Articulating in the low register can be tricky because too much tongue pressure can stop the reed from vibrating, while too little results in unclear attacks.
A. Articulation Issues in Low Notes
- Heavy tonguing can mute the sound.
- Soft articulation can cause unclear attacks.
- Inconsistent airflow leads to unstable notes.
B. How to Improve Low Note Articulation
✔ Use a light, controlled touch when tonguing.
✔ Keep airflow steady while articulating.
✔ Experiment with legato tonguing for a smoother response.
✔ Start with slow articulation exercises, then gradually speed up.
C. Articulation Exercises
- Play staccato low notes at different dynamics.
- Try repeating low notes slowly, then increasing speed.
- Use “doh” or “duh” syllables instead of “tah” for a gentler attack.
7. Practicing Low Notes in Repertoire
Once you have the basics down, applying them to actual music is crucial.
A. Identify Difficult Passages
- Isolate tricky low passages and slow them down.
- Use looped practice to build consistency.
- Analyze musical phrasing to shape the low notes expressively.
B. Record Yourself
- Listen for tone consistency in the low register.
- Adjust airflow and embouchure based on what you hear.
C. Experiment with Different Dynamics
- Low notes should sound clear at both soft and loud volumes.
- Try pp to ff swells to test control.
8. Conclusion: How to Get a Full, Resonant Low Register Sound
Mastering the lower register on bassoon requires a combination of strong air support, a relaxed embouchure, proper reed selection, and efficient fingering techniques.
Key Takeaways:
✔ Use steady, well-supported air to maintain tone stability.
✔ Adjust your embouchure to be relaxed but controlled.
✔ Choose reeds that enhance low register response.
✔ Ensure fingers fully cover the tone holes for clean attacks.
✔ Practice articulation carefully to avoid heavy tonguing.
✔ Slow practice and recording yourself help track progress.
By integrating these techniques into your daily practice, your low register will sound clearer, richer, and more resonant over time. Happy practicing! 🎶