
Reed problems can be frustrating for woodwind players. When a reed refuses to vibrate, it can bring practice or performance to a screeching halt. Fortunately, there are several simple techniques musicians can use to troubleshoot and resolve this common issue.
If a reed won’t vibrate, players should first ensure it is properly moistened by soaking it in water for a few minutes. Soaking reeds in water is more effective than simply wetting them in the mouth. If soaking doesn’t solve the problem, the reed may need adjusting. Players can gently squeeze the sides of the reed with pliers to open up the aperture if it’s too closed.
Sometimes, excess wood on the reed prevents proper vibration. In these cases, carefully removing small amounts of wood from the heart of the reed can help. For particularly stubborn reeds, players may need to take wood from the center of the heart, though this will make the pitch flatter. If these adjustments don’t work, the reed may be warped or simply of poor quality, in which case replacing it may be the best option.
Understanding Reed Issues
Reed issues can significantly impact a musician’s performance. Recognizing the components of a reed and identifying common vibration problems are crucial for addressing these challenges effectively.
Anatomy of a Reed
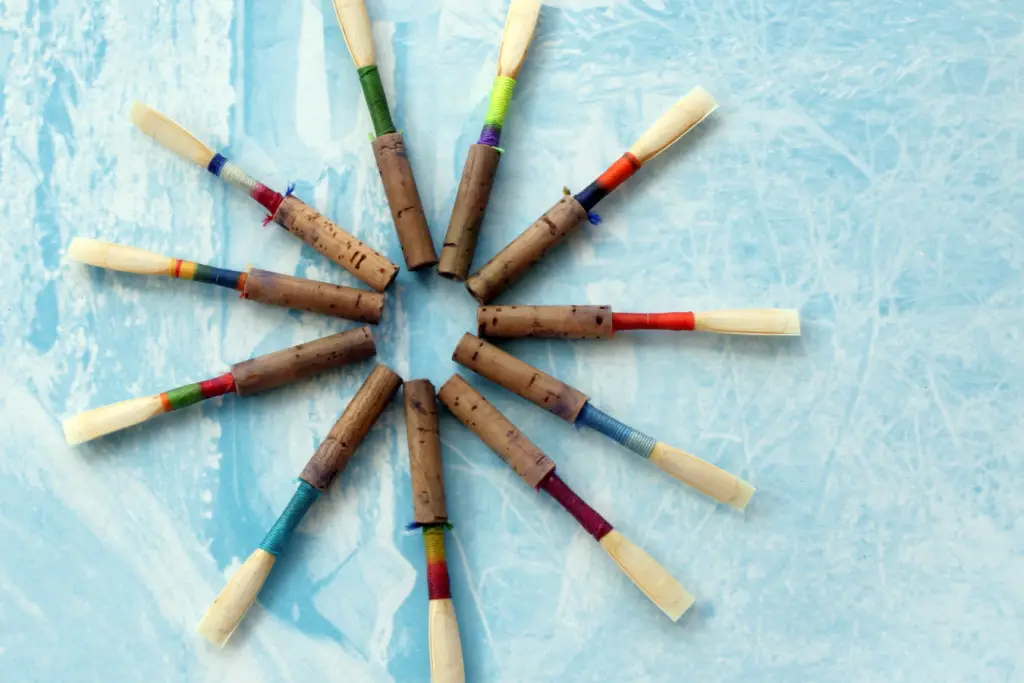
A reed consists of several key parts. The tip is the thinnest section at the top, responsible for initial vibration. The heart, located just below the tip, controls the reed’s overall response. The spine runs down the center, providing stability. The rails are the edges of the reed, affecting air flow.
Reed material also plays a role. Most reeds are made from Arundo donax cane, chosen for its specific density and flexibility. Some synthetic reeds are available, offering different qualities.
The cut of the reed influences its performance. French cut reeds have a thinner tip, while American cut reeds have a thicker tip. This affects the reed’s response and tone quality.
Common Vibrating Problems
Reed vibration issues often stem from specific causes. A warped reed can result from improper storage or changes in humidity. This warping prevents proper closure, hindering vibration.
Incorrect reed strength can also cause problems. Too soft a reed may vibrate easily but lack control, while too hard a reed may not vibrate sufficiently. Choosing the right strength is crucial for optimal performance.
Clogged reed pores can impede vibration. Regular cleaning and proper maintenance help prevent this issue. Soaking the reed before use can improve its responsiveness.
Reed adjustment techniques can address vibration problems. Gently adjusting the overlap of double reeds or carefully sanding single reeds can improve vibration.
Initial Assessment
When a reed fails to vibrate, quick identification of the issue and knowing when replacement is necessary are crucial skills for musicians. Proper evaluation can save time and frustration, ensuring optimal instrument performance.
Identifying the Problem
A non-vibrating reed can stem from various causes. First, check for visible damage or warping. Inspect the tip for cracks or splits, which can significantly impair vibration.
Next, examine the reed’s opening. If it’s too closed, gently squeeze the sides to widen it. Conversely, if it’s too open, apply pressure to narrow the gap.
Test the reed’s crow by blowing into it without the instrument. A healthy reed produces a clear, resonant sound. If the crow is dull or absent, the reed may require adjustment or replacement.
Check the ligature’s tightness. An overly tight or loose ligature can prevent proper vibration. Adjust it to secure the reed without excessive pressure.
When to Replace a Reed
Reeds have a limited lifespan and require regular replacement. If adjustments fail to improve vibration, it’s likely time for a new reed.
Inconsistent response across registers often indicates a reed nearing the end of its life. Difficulty sustaining notes or maintaining proper intonation are also signs of reed deterioration.
Visible wear, such as flattened or split tips, warrants immediate replacement. A reed that consistently produces a thin or weak tone, despite proper embouchure and air support, should be discarded.
Regular reed rotation extends their lifespan. Implement a system to track reed age and performance, replacing them before issues arise. This proactive approach ensures consistent playing quality and reduces unexpected vibration problems.
Troubleshooting Techniques
When a reed fails to vibrate properly, several techniques can help diagnose and resolve the issue. These methods focus on adjusting the reed’s position, ensuring proper moisture, balancing the reed, and maintaining cleanliness.
Adjusting Reed Position
Reed positioning is crucial for optimal vibration. Check if the reed is aligned correctly on the mouthpiece. The tip of the reed should line up with the tip of the mouthpiece.
If misaligned, gently slide the reed into the correct position. Ensure it’s not too high or too low on the mouthpiece.
A common issue is the reed slipping too far inside. This prevents vibration as it touches the mouthpiece lip. Adjust by carefully moving the reed upward.
Use the ligature to secure the reed firmly but not too tightly. Over-tightening can dampen vibrations.
Moistening the Reed
A dry reed won’t vibrate effectively. Before playing, moisten the reed thoroughly.
Soak the reed in clean water for 1-2 minutes. Alternatively, place it in the mouth for 30-60 seconds.
Avoid over-soaking, as this can waterlog the reed and affect its responsiveness.
After moistening, gently blot excess water with a clean cloth. This prevents water from accumulating in the mouthpiece.
Regular moistening throughout playing sessions helps maintain consistent vibration.
Balancing the Reed
An unbalanced reed can cause vibration issues. Perform a balancing test by placing the reed on the mouthpiece and observing its curvature.
If one side appears higher, gently sand the raised area using fine-grit sandpaper. Work in small increments, checking frequently.
Test the reed’s response after each adjustment. Aim for even resistance across the entire width of the reed.
Consider using a reed knife for more precise adjustments. Focus on the heart and tip areas of the reed.
Balancing may require multiple attempts. Be patient and avoid over-adjusting.
Cleaning the Reed
A dirty reed can impede vibration. Remove any debris or buildup from the reed surface.
Rinse the reed with clean water after each use. Gently brush with a soft-bristled toothbrush if necessary.
Allow the reed to dry completely on a flat surface. A reed case or holder can maintain its shape.
Inspect the reed regularly for signs of mold or discoloration. Replace if these issues are present.
Clean the mouthpiece as well to prevent transferring debris back to the reed.
Preventative Measures
Taking proactive steps can significantly reduce the likelihood of reed vibration issues. Proper storage, regular maintenance, and careful handling are essential for maintaining optimal reed performance.
Proper Storage
Reed storage conditions play a crucial role in preserving vibration quality. Store reeds in a specialized case to protect them from temperature fluctuations and humidity changes. These cases maintain a stable environment, preventing warping and cracking.
Keep reeds away from direct sunlight and heat sources. Exposure can cause rapid drying and damage to the delicate fibers.
Consider using humidity control packs in storage cases. These maintain optimal moisture levels, especially in dry climates or during winter months.
Regular Maintenance
Consistent reed care is vital for sustained vibration. Rinse reeds with clean water after each use to remove saliva and debris. Gently wipe them dry with a soft cloth.
Rotate between multiple reeds to extend their lifespan and maintain consistent performance. This allows each reed time to dry and recover between uses.
Periodically check reed flatness by placing them on a flat surface. If warping occurs, carefully flatten the reed using gentle pressure.
Handling Best Practices
Proper reed handling prevents unnecessary damage. Always moisten reeds before playing to ensure flexibility and reduce the risk of cracking.
Avoid touching the tip or cut portion of the reed with fingers. Natural oils can affect vibration and tone quality. Use the sides or butt end when handling.
When attaching or removing reeds from the mouthpiece, exercise caution. Apply gentle pressure to prevent bending or chipping the delicate tip.
After playing, allow reeds to air dry completely before returning them to storage. This prevents moisture accumulation and potential mold growth.
Advanced Solutions
When basic techniques fail to revive a non-vibrating reed, more sophisticated approaches can be employed. These methods require careful attention to detail and a deeper understanding of reed mechanics.
Fine-Tuning the Reed
Scraping the back of the reed can improve its responsiveness. Use a sharp reed knife to remove small amounts of cane from the back, focusing on the center spine. Work in small increments, testing the reed after each adjustment.
Consider adjusting the tip opening. If it’s too closed, gently squeeze the sides of the reed near the tip. For an overly open tip, apply pressure to the corners.
Examine the reed’s shape and symmetry. Uneven sides can hinder vibration. Use sandpaper to carefully even out any irregularities, maintaining the reed’s overall contour.
Reed Alternation Techniques
Implement a rotation system using multiple reeds. This practice prevents overuse of a single reed and allows each to rest and regain its shape between playing sessions.
Wet the entire reed, including the back, before playing. This ensures uniform moisture distribution and can improve vibration.
Experiment with different soaking times. Some reeds perform better with longer soaking periods, while others respond well to brief moistening.
Store reeds in a humidity-controlled environment. Use a reed case with a humidification system to maintain optimal moisture levels when not in use.
Consulting a Professional
Seek advice from a professional reed maker or experienced musician. They can provide personalized insights into reed adjustment techniques tailored to your specific instrument and playing style.
Attend reed-making workshops or masterclasses. These educational opportunities offer hands-on experience and expert guidance in advanced reed manipulation techniques.
Consider having custom reeds made. A professional reed maker can craft reeds suited to your embouchure, air support, and tonal preferences, potentially resolving persistent vibration issues.
Explore different reed brands and cuts. Sometimes, switching to a different manufacturer or reed style can address vibration problems more effectively than adjusting a problematic reed.
Optimization for Performance
Reed vibration is crucial for optimal sound production. Proper adjustment techniques and environmental awareness can significantly enhance reed performance.
Environmental Factors
Temperature and humidity play vital roles in reed vibration. Cold, dry conditions can cause reeds to become stiff and unresponsive. To combat this, store reeds in a humidified case when not in use.
Soaking the reed in warm water for 1-2 minutes before playing can improve flexibility. Avoid over-soaking, as it may lead to waterlogging and reduced vibration.
Air quality affects reed longevity. Playing in dusty or smoky environments can clog reed pores, hindering vibration. Regular cleaning with a soft brush can remove debris and maintain reed responsiveness.
Personal Embouchure Adjustments
Proper embouchure technique is essential for optimal reed vibration. Players should focus on maintaining consistent lip pressure and air support.
Gradually increasing air pressure while playing can help initiate vibration in stubborn reeds. Start by blowing gently on the reed tip, then progressively move to the heart and full reed.
Experimenting with lip placement can also improve reed response. Slight adjustments in how much of the reed is taken into the mouth can affect vibration quality.
For persistent issues, gentle manipulation of the reed’s aperture may be necessary. Using clean, dry hands, carefully squeeze the sides of the reed to adjust its opening.