
Playing the piccolo can be challenging, especially for beginners. When faced with a piccolo that isn’t producing sound, players may feel frustrated and uncertain about how to proceed. There are several potential reasons why a piccolo might not be making noise, ranging from improper technique to instrument issues.
To troubleshoot a silent piccolo, start by checking the embouchure and breath support, then inspect the instrument for any physical obstructions or damage. Proper embouchure formation is crucial for sound production on the piccolo. Players should ensure their lips are relaxed and positioned correctly over the embouchure hole. Additionally, adequate breath support is necessary to create vibrations and produce sound.
If adjusting the embouchure and breath support doesn’t solve the issue, it’s important to examine the piccolo itself. Check for any objects blocking the embouchure hole or keys. Sometimes, small debris can interfere with the instrument’s functionality. Players should also inspect the piccolo for any visible damage, such as cracks or misaligned keys, which may require professional repair.
Initial Piccolo Assessment
Before attempting to play your piccolo, it’s crucial to perform a thorough inspection. This process involves checking for obstructions, examining the mouthpiece, and ensuring proper headjoint alignment.
Check for Obstructions
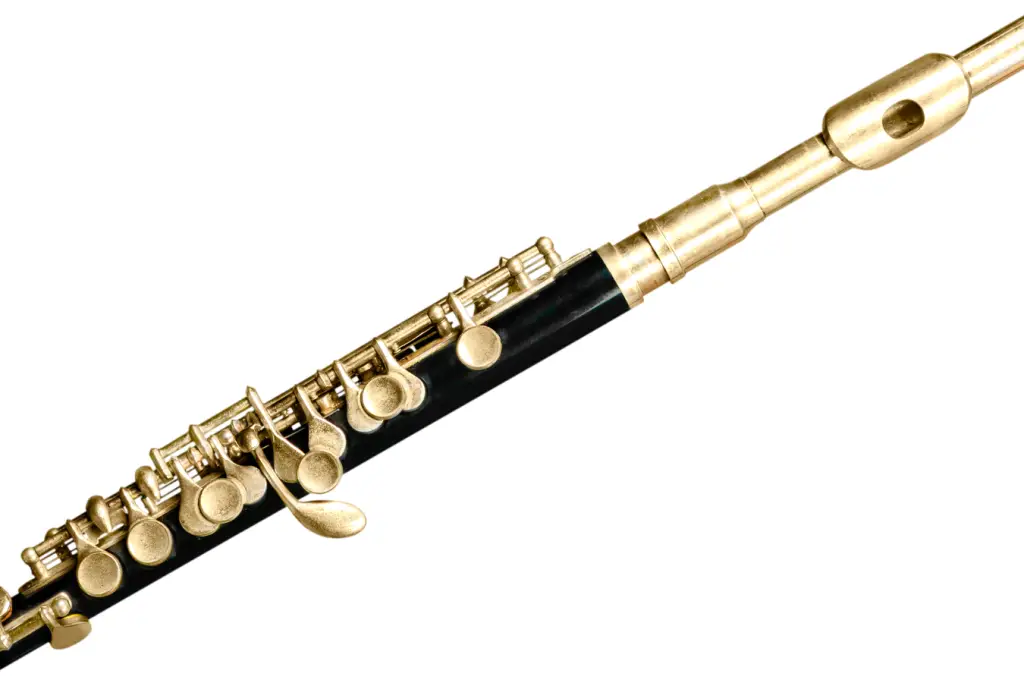
Begin by visually inspecting the piccolo’s body and keys. Look for any foreign objects that may have found their way into the instrument. Small debris, dust, or even condensation can obstruct airflow and prevent sound production.
Hold the piccolo up to a light source to check for blockages in the bore. If you spot any obstructions, use a cleaning rod with a soft cloth to gently remove them.
Pay special attention to the embouchure hole and tone holes. These small openings are particularly susceptible to blockages. A soft brush can help clear these areas effectively.
Inspect the Mouthpiece
Examine the piccolo’s mouthpiece carefully. Ensure the embouchure plate is clean and free from any residue or buildup. Wipe it gently with a soft, lint-free cloth if necessary.
Check the cork on the headjoint. It should be in good condition and properly greased. A damaged or dry cork can affect the seal between the headjoint and body, impacting sound production.
Look for any cracks or damage to the mouthpiece. Even small imperfections can significantly alter the instrument’s acoustics and prevent proper sound generation.
Evaluate the Headjoint Alignment
Proper headjoint alignment is critical for sound production. Begin by loosening the headjoint slightly and rotating it to find the optimal position.
Align the embouchure hole with the center of the keys. This positioning allows for the most efficient airflow through the instrument.
Once aligned, tighten the headjoint securely. An improperly tightened headjoint can shift during play, affecting sound quality and intonation.
Test the alignment by playing a few notes. If the sound is weak or airy, try adjusting the headjoint slightly until you achieve the desired tone quality.
Troubleshooting Common Issues
When a piccolo fails to produce sound, several factors may be at play. Addressing moisture buildup, examining pad condition, and refining playing technique can often resolve these issues.
Resolve Moisture-Related Problems
Excess moisture can impede sound production in piccolos. To combat this, use a cleaning rod wrapped in cloth to remove moisture from the instrument’s interior. Gently insert the rod into each joint, twisting to absorb any water droplets.
For stubborn moisture, consider using absorbent paper. Place it between the pad and tone hole, pressing lightly to draw out trapped water. This method helps prevent pads from sticking and ensures clear sound production.
Regular swabbing after each playing session prevents moisture accumulation. This simple habit can significantly extend the life of pads and maintain optimal sound quality.
Test and Adjust the Pads
Faulty pads often cause sound production issues. Inspect each pad for proper sealing by holding the piccolo up to a light source. Any visible light around closed keys indicates a leak that needs addressing.
For minor misalignments, gently heat the pad using a specialized pad iron. This can help reshape the pad for a better seal. Be cautious not to overheat, as this can damage the pad.
If pads show signs of wear or damage, replacement may be necessary. This task is best left to professional repair technicians to ensure proper fitting and alignment.
Correct Finger Placement and Technique
Improper finger placement can hinder sound production. Ensure fingers cover the holes completely without excess pressure. For lower notes, focus on airflow rather than increased air pressure.
Position the piccolo slightly higher on the bottom lip, aligning the embouchure hole just forward of the key centers. This prevents overcovering the embouchure hole, a common issue due to the instrument’s small size.
Practice long tones to develop consistent airflow and embouchure control. Start with middle register notes and gradually expand to higher and lower ranges, focusing on maintaining a clear, steady tone throughout.
Maintenance Recommendations
Proper maintenance is crucial for keeping your piccolo in optimal playing condition. Regular cleaning and appropriate storage practices help prevent issues and prolong the instrument’s lifespan.
Regular Cleaning
Clean your piccolo after each use to remove moisture and debris. Use a cotton cloth or swab to wipe the interior of the body and headjoint. For wooden piccolos, be cautious not to oversaturate the instrument.
Clean the pads gently with a specialized pad paper. Avoid using alcohol-based cleaners, as they can damage the pads.
Occasionally, remove the keys and clean underneath them with a soft brush. This helps prevent dirt buildup that can affect the mechanism’s functionality.
For metal piccolos, polish the exterior with a non-abrasive cloth to maintain its shine. Wooden piccolos may benefit from occasional oiling to prevent cracking.
Proper Storage
Always store your piccolo in its case when not in use. This protects it from physical damage and environmental factors.
Use a case cover or gig bag to provide additional insulation, especially when moving between temperature extremes. Sudden temperature changes can cause wooden piccolos to crack.
Keep the case in a room with stable temperature and humidity. Avoid storing it near heaters, air conditioners, or in direct sunlight.
If your piccolo has a tenon cap, use it to protect the headjoint joint. Remove any cleaning accessories from the case to prevent damage to the instrument.
Consider using a humidifier in the case if you live in a dry climate. This helps maintain the wood’s moisture content and prevents cracking.
When to Seek Professional Help
If your piccolo isn’t producing sound despite your best efforts, it may be time to consult a professional. Consider seeking help when:
• You’ve tried adjusting your embouchure and airflow without success • The instrument shows signs of physical damage or wear • You hear unusual rattling or air leaks when playing
Professional repair technicians can diagnose and fix complex issues that may not be apparent to players. Sudden changes in temperature or humidity can affect your piccolo’s performance, so a specialist may be needed if environmental factors are suspected.
If notes in the lower register are consistently problematic, it could indicate a mechanical issue rather than a technique problem. In such cases, professional assessment is crucial.
Regular maintenance by a qualified technician can prevent many issues. They can check for:
- Pad condition and alignment
- Key mechanism functionality
- Headjoint cork fit
- Body cracks or warping
Remember, attempting complex repairs without proper knowledge can potentially damage your instrument further. When in doubt, it’s best to consult an expert to ensure your piccolo remains in optimal playing condition.