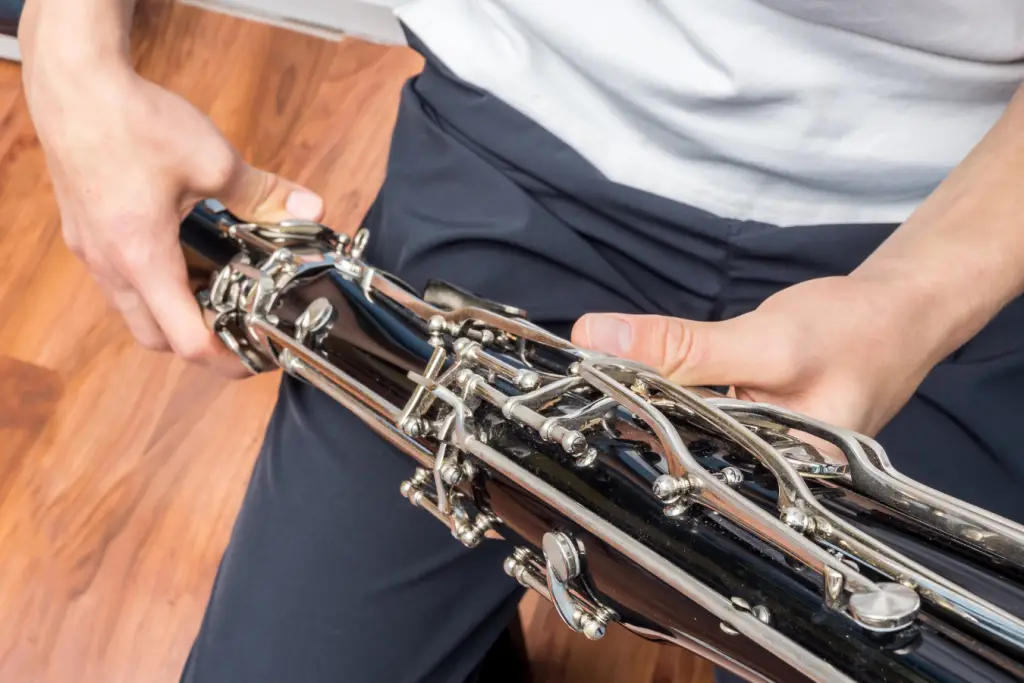
The bassoon is a complex and unique woodwind instrument with a wide range and intricate fingering system. Unlike simpler wind instruments, the bassoon uses a combination of regular fingerings, alternate fingerings, and special key techniques to produce different notes.
If you’re new to the bassoon or looking to improve your understanding of fingering charts, this guide will break down:
✔ How to read a bassoon fingering chart
✔ The role of thumb keys and finger combinations
✔ Alternate fingerings and when to use them
✔ How to practice efficiently with a fingering chart
Let’s dive in!
1. What Is a Bassoon Fingering Chart?
A bassoon fingering chart is a visual reference that shows which keys and tone holes to press for each note. It helps players:
- Learn standard fingerings for each pitch.
- Understand alternate fingerings for better tuning and technique.
- Develop smooth transitions between notes.
Bassoon fingering charts can look complicated at first, but once you learn how to read them, they become an essential tool for mastering the instrument.
2. How to Read a Bassoon Fingering Chart
A. The Layout of a Fingering Chart
A bassoon fingering chart typically includes:
✔ A diagram of the bassoon’s keys and tone holes
✔ Symbols indicating which fingers press which keys
✔ Sometimes, a side view to show additional thumb keys
B. Understanding Fingering Symbols
Most fingering charts use dots or filled-in circles to show where to place your fingers.
- Black dots = Press these keys or cover these tone holes.
- White (empty) circles = Leave these keys open.
- X or special markings = Special keys or alternate fingerings.
Some charts also show venting keys (like whisper keys), which are crucial for certain registers.
3. Breaking Down Bassoon Fingerings
A. The Role of Your Thumbs
The bassoon is unique in that both thumbs operate multiple keys:
🔹 Left Thumb (6-7 keys, depending on the model)
- Whisper Key (used in the lower register)
- Octave Keys (for high notes)
- Low E, D, C, and B flat keys
🔹 Right Thumb
- Low C and B flat keys
- Resonance keys for intonation adjustments
Mastering thumb coordination is one of the biggest challenges when learning bassoon fingerings!
B. The Finger Positions (Left and Right Hands)
✔ Left Hand
- Index, middle, and ring fingers control upper tone holes.
- Pinky controls high notes and trill keys.
✔ Right Hand
- Index, middle, and ring fingers control lower tone holes.
- Pinky operates low notes and alternate fingerings.
Since the bassoon’s tube is long and conical, skipping keys while moving between notes is common. This is why alternate fingerings exist.
4. Alternate Fingerings: Why Do They Matter?
A. What Are Alternate Fingerings?
Alternate fingerings are variations that produce the same pitch but with different finger placements.
🔹 Reasons to use alternate fingerings:
✔ Improve intonation (some notes tend to be sharp or flat).
✔ Make fast passages easier by avoiding awkward movements.
✔ Enhance tone quality in certain registers.
B. Common Alternate Fingerings
- High F and G – Different keys can affect tuning.
- Forked F fingering – Reduces sharpness in the mid-range.
- Resonance fingerings for E and F – Used for better tone color.
A good teacher or fingering chart will help you decide which alternate fingerings work best for your instrument and playing style.
5. Special Keys and Their Fingering Uses
A. Whisper Key (Left Thumb Key)
- Used for low notes (below middle C).
- Prevents the tone from cracking.
- Not used in higher registers (except for special cases).
B. Half-Hole Technique
- Used for notes between low A and middle D.
- The index finger partially covers a tone hole.
- Essential for proper tuning and smooth note transitions.
C. The High Note Keys (Octave & Flicking Keys)
- Help produce clear high notes without cracking.
- Often required for high A, B, C, and D.
Understanding these extra keys is crucial for playing smoothly across the instrument’s range.
6. How to Practice Using a Fingering Chart
Now that you understand bassoon fingering charts, here are tips for practicing efficiently:
A. Start with Simple Notes
✔ Begin with basic fingerings (middle C to low G).
✔ Memorize left-hand vs. right-hand roles.
B. Practice Slow Transitions
✔ Play long tones while switching between notes.
✔ Focus on clean finger placement to avoid buzzing.
C. Use a Metronome for Speed Drills
✔ Practice chromatic scales to reinforce patterns.
✔ Gradually increase speed to develop muscle memory.
D. Experiment with Alternate Fingerings
✔ Try different fingering combinations for better tone.
✔ Record yourself to check for intonation accuracy.
E. Work with a Teacher or Online Fingering Guides
✔ Private teachers can correct mistakes early.
✔ Online interactive charts allow sound comparison.
7. Common Fingering Chart Mistakes to Avoid
Even experienced players sometimes struggle with fingering mistakes. Here are common errors and how to fix them:
🔴 Mistake: Not using the whisper key for low notes
✅ Solution: Always press the whisper key for stability.
🔴 Mistake: Forgetting half-hole for A, B-flat, B, C, and D
✅ Solution: Practice half-holing technique slowly.
🔴 Mistake: Ignoring alternate fingerings for difficult passages
✅ Solution: Experiment with alternates for smoother transitions.
🔴 Mistake: Using incorrect octave keys for high notes
✅ Solution: Use flick keys to prevent cracking.
Final Thoughts: Mastering Bassoon Fingering Charts
Understanding and using a bassoon fingering chart is key to mastering the instrument. By learning standard fingerings, alternate fingerings, and special techniques, you can improve your tone, intonation, and technical ease.
Key Takeaways:
✔ Learn how to read a fingering chart correctly.
✔ Master thumb coordination for smooth playing.
✔ Use alternate fingerings to improve intonation and technique.
✔ Practice slow, then increase speed for muscle memory.
✔ Work with a teacher or interactive chart for accuracy.
With consistent practice, you’ll be able to navigate bassoon fingerings effortlessly and focus on making beautiful music. 🎶

