
Bassoon reeds are delicate and prone to damage due to their fragile nature. Even a minor crack, chip, or misalignment can significantly affect the reed’s performance, leading to poor tone, reduced playability, or complete unplayability. While sometimes a damaged reed needs to be replaced, many common issues can be fixed with the right tools, techniques, and patience. This guide explains how to identify reed problems, repair them, and prolong the life of your bassoon reeds.
Understanding Bassoon Reeds and Their Vulnerabilities
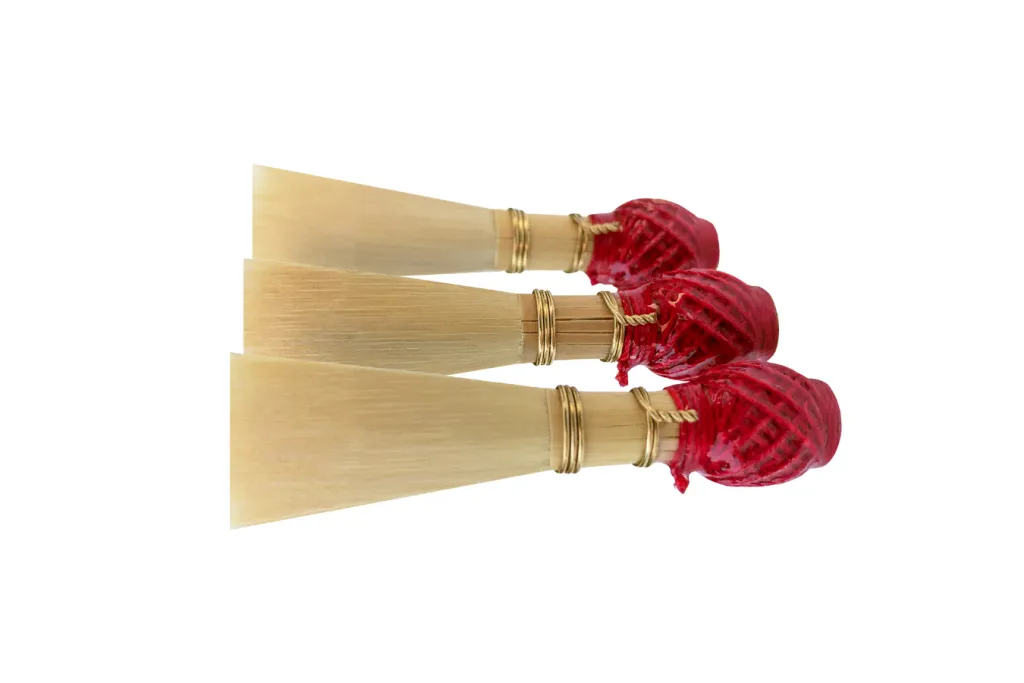
Bassoon reeds are made of cane and consist of two blades bound together. Their delicate structure makes them susceptible to:
- Cracks or splits in the blades.
- Chips on the edges or tip.
- Warping due to moisture or improper storage.
- Loose binding where the cane is attached to the reed tube.
Knowing how to fix these issues can save money and keep you playing without interruptions.
Common Tools for Reed Repair
To fix a broken bassoon reed, you’ll need a few specialized tools and materials:
- Reed knife (for trimming or reshaping).
- Sandpaper (fine grit, around 400-600).
- Plaque (a thin metal or plastic piece to place between the blades for stability).
- Thread or wire (for re-binding).
- Super glue (for minor cracks).
- Reed pliers (to adjust the wires).
- Water container (to soak the reed).
Identifying the Problem
Before attempting a repair, inspect the reed carefully:
- Test Play the Reed: Does the reed feel too stiff, too soft, or unresponsive?
- Visual Inspection: Look for visible damage such as cracks, chips, or frayed threads.
- Check the Binding: Ensure the wires and thread holding the reed are secure and evenly applied.
- Blade Alignment: Confirm the blades are symmetrical and not warped or misaligned.
Fixing Specific Reed Issues
1. Cracked or Split Blades
A small crack in the reed blade can sometimes be repaired:
- Minor Cracks:
- Apply a tiny drop of super glue to the crack and spread it evenly using a toothpick.
- Let the glue dry completely before testing the reed.
- Severe Cracks:
- If the crack extends across most of the blade, the reed may not be salvageable.
2. Chipped Tip
A chipped tip can interfere with the reed’s vibrations:
- Trimming the Tip:
- Use a reed knife or fine-grit sandpaper to carefully trim the tip, removing the damaged section.
- Ensure the tip is even by placing a plaque between the blades while trimming.
- Rebalancing the Reed:
- After trimming, test the reed and adjust the thickness using sandpaper to ensure even vibrations.
3. Warped Blades
Warped blades often result from uneven moisture absorption:
- Soak the Reed:
- Immerse the reed in warm water for a few minutes to make the cane pliable.
- Flatten the Blades:
- Insert a plaque between the blades and gently press them against a flat surface.
- Leave the reed to dry completely in this position.
4. Loose Binding
The thread or wire binding can loosen over time, compromising the reed’s structure:
- Rewrapping the Thread:
- Remove the old thread and rewrap it tightly around the reed base, securing it with glue if needed.
- Adjusting the Wires:
- Use reed pliers to tighten or adjust the wires around the reed. Ensure they are evenly applied to maintain the reed’s shape.
5. Weak or Unresponsive Reed
Sometimes a reed feels dull or unresponsive due to uneven thickness or poor shaping:
- Adjust the Thickness:
- Use a reed knife or sandpaper to thin the reed blades gradually. Focus on the heart (central portion) or the tip as needed.
- Check Symmetry:
- Ensure both blades are evenly balanced in thickness and alignment.
Testing the Repaired Reed
After making any repairs, test the reed:
- Soak the reed in water for a few minutes before playing.
- Play long tones and scales to assess its responsiveness, tone, and pitch.
- If necessary, make minor adjustments with sandpaper or a reed knife to fine-tune the reed.
When to Replace the Reed
While many reed issues can be fixed, some problems indicate it’s time for a replacement:
- Cracks or chips that are too severe to repair.
- Significant warping that cannot be corrected.
- Reed blades that have become too thin from repeated adjustments.
- The reed has lost its vibrancy and cannot produce a desirable tone.
Preventing Reed Damage
To minimize the need for repairs, follow these tips:
- Proper Storage: Keep your reeds in a reed case that allows airflow to prevent warping. Avoid storing reeds in extreme temperatures or humidity.
- Moistening: Always soak the reed before playing to reduce stress on the cane.
- Gentle Handling: Handle reeds carefully, especially when placing them on the bocal or removing them.
- Rotation: Use multiple reeds in rotation to prolong their lifespan and reduce wear.
- Regular Maintenance: Periodically check and adjust your reeds to keep them in optimal condition.
Tips for Beginner Reed Repair
If you’re new to reed repair, keep these points in mind:
- Practice on old or less valuable reeds before attempting repairs on your primary reeds.
- Invest in quality tools like a good reed knife and pliers—they make a significant difference.
- Watch videos or seek advice from experienced bassoonists or teachers to learn proper techniques.
Conclusion
Fixing a broken bassoon reed is an essential skill for any bassoonist, helping to save money and avoid performance interruptions. By understanding common reed problems and how to address them, you can extend the life of your reeds and improve their performance. With the right tools, techniques, and care, you can keep your reeds in great condition and focus on making music.
Whether you’re a beginner or an experienced bassoonist, reed repair is a valuable part of playing the instrument. Start small, practice regularly, and soon you’ll be able to handle most reed issues with confidence.