
Swabbing the inside of an oboe is a crucial part of instrument maintenance. This simple yet essential task helps remove moisture and debris, preserving the oboe’s wood and preventing costly repairs. To swab an oboe, gently insert a clean, lint-free cloth attached to a weight or string through the instrument’s bell, carefully pulling it through until it emerges from the top joint.
Proper swabbing technique is key to avoiding potential issues. Using a swab with a safety cord can help prevent the cloth from getting stuck inside the instrument. Musicians should take care not to force the swab if they encounter resistance, as this could lead to damage.
Regular swabbing after each playing session keeps the oboe in optimal condition. By incorporating this habit into their routine, oboists can ensure their instrument remains in top shape for years to come, allowing them to focus on creating beautiful music without worrying about preventable maintenance issues.
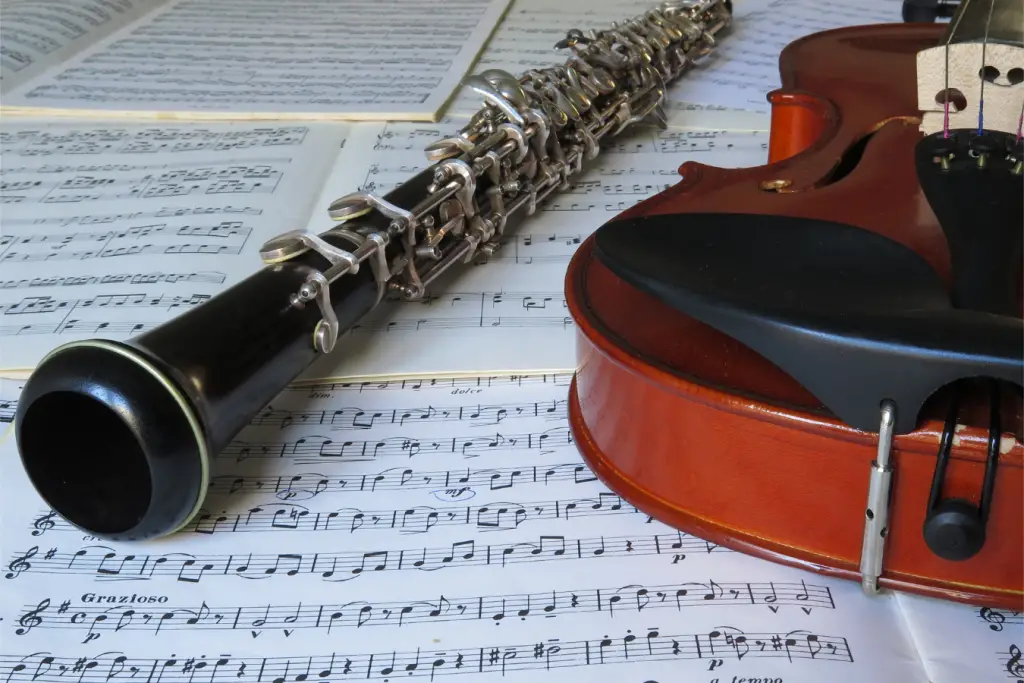
Understanding the Oboe Anatomy
The oboe consists of distinct parts made from specific materials. These components work together to produce the instrument’s unique sound and require proper care when swabbing.
Parts of the Oboe
The oboe comprises three main sections: the upper joint, lower joint, and bell. Each part connects via cork-lined tenons, ensuring a tight seal.
The upper joint houses the reed and contains the majority of the keys. It’s crucial for producing higher notes and requires careful swabbing.
The lower joint extends from the upper joint and includes additional keys. This section is essential for lower notes and needs thorough cleaning.
The bell, located at the bottom, amplifies and projects the sound. While it requires less frequent swabbing, it shouldn’t be neglected.
Materials and Structure
Oboes are typically crafted from dense hardwoods like grenadilla or rosewood. These materials provide durability and contribute to the instrument’s distinctive tone.
The oboe’s interior bore is precisely shaped, tapering from top to bottom. This design is crucial for proper intonation and sound production.
Metal keys and rods, usually made of nickel silver or other alloys, cover the finger holes. These mechanisms require careful handling during the swabbing process.
Cork pads beneath the keys ensure airtight seals. Regular swabbing helps prevent moisture damage to these delicate components.
The oboe’s complex structure necessitates careful swabbing techniques to maintain its integrity and performance.
Preparing for Swabbing
Proper preparation is crucial for effective oboe swabbing. Having the right supplies and handling the instrument carefully will ensure a thorough cleaning process while protecting the delicate components of the oboe.
Gathering Necessary Supplies
To swab an oboe effectively, you’ll need specific cleaning tools. The most important item is a silk or microfiber swab designed for oboes. These swabs are gentle on the instrument’s interior and highly absorbent.
A pull-through weight, typically made of string or cord with a small weight attached, is essential for guiding the swab through the instrument. This tool helps ensure the swab reaches all areas of the bore.
Gather a soft, lint-free cloth for wiping the exterior of the oboe. Additionally, have a cleaning rod on hand for occasional deeper cleaning of the bore.
Handling the Oboe
When preparing to swab an oboe, handle the instrument with care to prevent damage. Always hold the oboe by its sturdy parts, such as the bell or upper joint, avoiding pressure on the keys or bridge mechanism.
Before swabbing, disassemble the oboe into its main sections: bell, lower joint, upper joint, and bocal. This allows for thorough cleaning of each part individually.
Lay out the oboe sections on a clean, soft surface to prevent scratches or dents. A padded cleaning mat or soft towel works well for this purpose.
Inspect each section for excess moisture or debris before swabbing. This helps identify areas that may need extra attention during the cleaning process.
Swabbing Techniques
Proper swabbing techniques are crucial for maintaining an oboe’s longevity and optimal performance. The process involves carefully cleaning each section of the instrument to remove moisture and debris.
Upper Joint Swabbing
Swabbing the upper joint requires precision to avoid damaging the delicate key mechanisms. Insert a silk or cotton swab into the top of the joint, gently pulling it through until resistance is felt. Do not force the swab all the way through, as this may cause it to become stuck.
Instead, pull the swab back out the same way it went in. This method ensures thorough cleaning without risking damage to the instrument. Repeat the process 2-3 times or until the swab comes out dry.
For stubborn moisture, use a specialized oboe swab with a weighted end to guide it through the joint more effectively.
Lower Joint Swabbing
The lower joint swabbing technique is similar to the upper joint, but with a few key differences. Insert the swab from the bottom of the joint, carefully guiding it upwards. As with the upper joint, stop when resistance is felt and pull the swab back out.
Pay extra attention to the area around the bridge key, as moisture tends to accumulate there. Use a small, thin swab or cleaning cloth to gently wipe this area.
For thorough cleaning, repeat the swabbing process 2-3 times. Ensure the swab is not too damp before reinserting to avoid adding moisture back into the instrument.
Bell Joint Swabbing
The bell joint is typically the easiest section to swab due to its wider opening. Use a silk or cotton swab specifically designed for oboe bells.
Insert the swab from the wider end and gently pull it through to the narrower end. The bell’s shape allows for a full pull-through without the risk of the swab getting stuck.
After swabbing, inspect the bell for any remaining moisture. If necessary, use a soft, lint-free cloth to wipe the interior, paying special attention to the tone holes.
Remember to clean the exterior of the bell as well, using a polishing cloth to remove fingerprints and maintain the instrument’s finish.
Aftercare and Maintenance
Proper care after swabbing is crucial for maintaining an oboe’s longevity and performance. Regular drying and appropriate storage help prevent moisture damage and keep the instrument in optimal condition.
Drying the Swab
After swabbing the oboe, it’s essential to dry the swab thoroughly. Hang the swab in a well-ventilated area, away from direct sunlight or heat sources. Avoid folding or compressing the swab, as this can lead to mildew growth.
For cotton swabs, gently squeeze out excess moisture before hanging. Silk swabs typically dry faster but may require more frequent replacement.
Consider using multiple swabs to ensure complete dryness between playing sessions. Rotate swabs to allow each one ample drying time.
Storage Tips
Store the oboe in its case when not in use to protect it from dust, temperature changes, and accidental damage. Place a small dehumidifier or silica gel packet in the case to absorb excess moisture.
Remove the reed and store it separately in a reed case. This prevents warping and extends the reed’s lifespan.
Keep the oboe case in a room-temperature environment, away from direct sunlight and heating vents. Avoid storing the instrument in basements or attics where temperature and humidity fluctuate dramatically.
Regularly inspect the case interior for signs of mold or mildew. Clean and air out the case periodically to maintain a healthy environment for the oboe.
Common Issues and Solutions
Swabbing an oboe can present challenges that may affect the instrument’s performance and longevity. Proper techniques and awareness of potential problems are essential for maintaining the oboe’s condition.
Moisture Buildup
Excess moisture inside the oboe can lead to serious damage if not addressed promptly. Regular swabbing after playing is crucial to prevent moisture accumulation.
Players should pay special attention to the upper joint, where moisture tends to collect. Using a silk or microfiber swab can help absorb moisture effectively without leaving residue.
In humid environments, additional measures may be necessary. Leaving the case open or using a dehumidifier can help reduce moisture buildup when the oboe is not in use.
Swab Getting Stuck
A common issue faced by oboists is the swab becoming stuck inside the instrument. This typically occurs when trying to pull the swab through too forcefully or using an incorrect size.
To prevent this, oboists should gently pull the swab until it starts to become tight, then use the ripcord to remove it. If the swab does get stuck, it’s crucial not to use pliers or other tools, as this can damage the oboe.
Professional assistance may be required if gentle attempts to remove the swab fail. Using a properly sized swab and avoiding excessive force can prevent most instances of stuck swabs.
Professional Advice for Oboists
Professional oboists emphasize the importance of regular swabbing to maintain instrument health. Swabbing after every playing session is crucial, regardless of skill level.
Experts recommend using a swab with a safety cord to prevent it from getting stuck. If the swab does become lodged, stop pulling immediately. The swab should be carefully extracted in the direction it entered.
Before swabbing, inspect the cloth for knots. Even small knots can cause problems, especially in the narrow bore of an oboe.
Many professionals prefer silk swabs over cotton. Some believe cotton leaves residue, while others feel silk absorbs moisture more effectively.
When swabbing, hold the cloth to prevent bunching. Gently lower the weighted end into the instrument.
For thorough cleaning, some oboists use long swabs that can clean the entire instrument while assembled. Yamaha includes these with their oboes.
Proper swabbing helps prevent cracks caused by moisture. The wood can expand unevenly if too much humidity builds up inside the bore.
By following these professional tips, oboists can ensure their instruments remain in optimal condition for years to come.