
Learning to blow into an oboe correctly is essential for producing a beautiful sound on this challenging double-reed instrument. The oboe requires precise breath control and embouchure technique to create its distinctive tone.
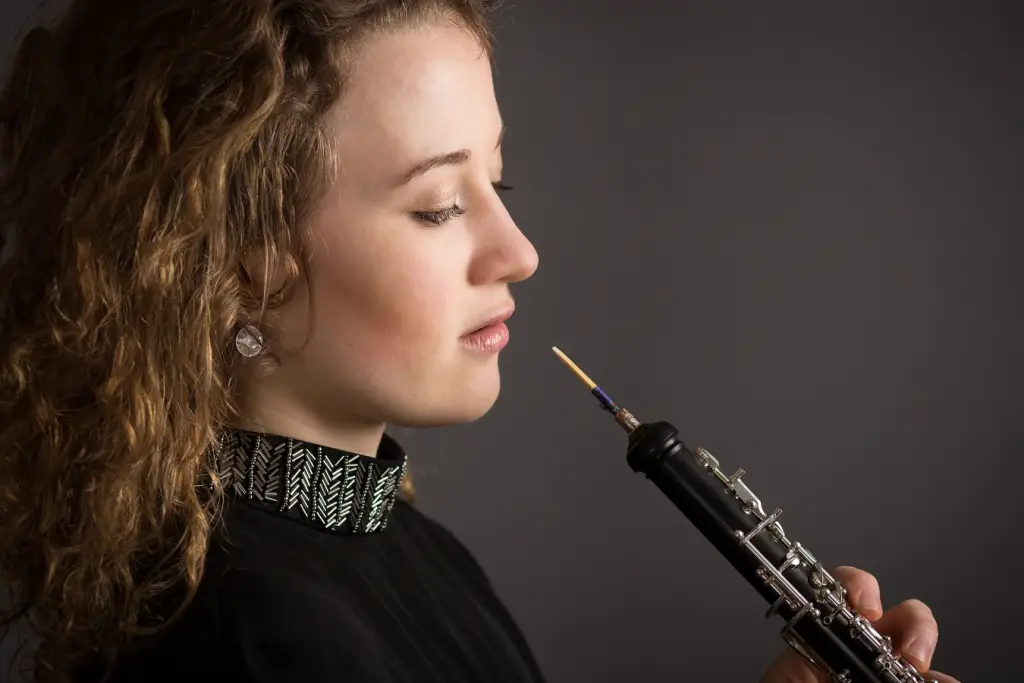
To blow into an oboe, place the reed between your lips, about halfway up the exposed cane, and blow with steady, controlled air pressure while maintaining a firm yet flexible embouchure. This technique allows the reed to vibrate freely, generating the oboe’s characteristic sound.
Proper posture and breathing are crucial components of playing the oboe effectively. Sitting up straight with shoulders aligned with the hips creates an optimal position for breath support and control. Players should focus on using deep, diaphragmatic breathing to maintain consistent air pressure through the instrument.
Understanding the Oboe
The oboe is a double-reed woodwind instrument with a distinctive sound and rich history. Its complex design and unique reed structure contribute to its characteristic timbre and playing technique.
History and Design
The oboe originated in the mid-17th century as a refinement of earlier double-reed instruments. It quickly became an essential part of orchestras and chamber ensembles. The modern oboe features a conical bore and a system of keys that allow for precise fingering.
Oboe bodies are typically made from grenadilla wood, though synthetic materials are sometimes used. The instrument is divided into three main sections: the upper joint, lower joint, and bell.
Key mechanisms cover tone holes, enabling players to produce a wide range of notes. The oboe’s design has evolved over centuries, with improvements in intonation, range, and playability.
Reed Structure and Function
The oboe reed is crucial to the instrument’s sound production. It consists of two thin pieces of cane bound together, creating a small opening for air to pass through.
The reed vibrates when air is blown across it, producing the oboe’s distinctive tone. Reed-making is a skilled craft, and many professional oboists make their own reeds to suit their playing style.
Reed characteristics affect the oboe’s tone quality, intonation, and responsiveness. Factors such as cane thickness, shape, and binding style all influence the reed’s performance.
Proper reed care and maintenance are essential for consistent sound production and longevity. Oboists must regularly adjust and replace reeds to maintain optimal playing conditions.
Preparing to Play
Proper preparation is crucial for playing the oboe effectively. This involves carefully assembling the instrument, adopting the correct posture, and preparing the reed.
Assembling the Oboe
The oboe consists of three main parts: the upper joint, lower joint, and bell. Begin by gently twisting the upper and lower joints together, aligning the bridge key mechanism. Next, attach the bell to the lower joint. Handle the instrument with care, avoiding pressure on the keys.
Apply cork grease to the tenons if needed for smooth assembly. Ensure all connections are secure but not overly tight. Check that the bridge key aligns properly between the upper and lower joints.
Proper Posture and Hand Position
Sit upright with feet flat on the floor. Keep shoulders relaxed and back straight. Hold the oboe at a 45-degree angle to your body.
Place your left hand on the upper joint and right hand on the lower joint. Left thumb supports the instrument on the thumb rest. Curve fingers naturally over the keys.
Maintain a relaxed grip. Avoid tensing muscles or gripping too tightly. This allows for fluid finger movement and prevents fatigue during play.
Reed Preparation and Moistening
Soak the reed in water for 1-2 minutes before playing. This softens the cane, making it more responsive. Avoid over-soaking, which can waterlog the reed.
Gently squeeze excess water from the reed. Place it in your mouth, allowing saliva to moisten it further. This helps create a good seal when playing.
Handle the reed carefully by its cork end. Avoid touching the delicate tip. Store reeds in a protective case when not in use to maintain their shape and prevent damage.
Embouchure Techniques
Proper embouchure is crucial for producing a clear, controlled sound on the oboe. It involves the precise positioning of the lips, jaw, and facial muscles around the reed.
Forming the Embouchure
To form an effective oboe embouchure, start by creating an “ooh” shape with your mouth. This forces the corners of your mouth forward, similar to a drawstring bag. The top lip should slightly curl around the upper teeth.
Place the reed between your lips, aiming to have as little of it in your mouth as possible. This helps maintain proper tuning and reduces unwanted vibrations.
For higher notes, players may need to adjust by taking more of the reed into their mouth. The embouchure should form a seal around the reed, preventing air from escaping.
Breath Control and Support
Breath control is essential for playing the oboe effectively. Players should take deep, diaphragmatic breaths to provide consistent air support.
When exhaling, maintain steady air pressure. This helps overcome the natural resistance of the instrument. Avoid fighting against this resistance, as it can lead to tension and poor tone quality.
To adjust dynamics, players should modify both their air flow and embouchure. For louder passages, increase air volume while slightly opening the embouchure. Conversely, for softer notes, reduce air flow and gently tighten the embouchure.
Practice long tones to develop breath control and embouchure strength. This exercise helps players maintain consistent tone quality across different registers and dynamic levels.
Producing the First Sounds
Creating sound on an oboe requires proper technique and practice. The initial steps involve mastering the basics of breath control and embouchure formation.
Blowing Techniques
To produce sound on an oboe, start by placing the reed between your lips. Surround the reed completely with your lips to create a seal. This prevents air from escaping.
Next, blow steadily into the reed. The air should be focused and directed. Imagine blowing through a small straw to achieve the right airflow.
Maintain consistent air pressure. Too little pressure results in weak sound, while too much can cause squeaking. Practice controlling your breath to find the right balance.
For beginners, it’s helpful to blow into the reed alone before attaching it to the oboe. This allows for easier sound production and helps develop proper technique.
Adjusting Pitch and Tone
Once a sound is produced, focus on refining pitch and tone. The embouchure, or mouth position, plays a crucial role in this process.
Adjust lip pressure on the reed to control pitch. More pressure generally raises the pitch, while less pressure lowers it. Experiment to find the right balance.
Air support is fundamental for a good tone. Use your diaphragm to provide steady, controlled airflow. This helps maintain consistent sound quality.
The shape of the oral cavity affects tone color. Experiment with tongue position and mouth shape to alter the sound. A more open mouth typically produces a fuller tone.
Start with long, steady notes to develop control. Gradually progress to shorter notes and different pitches as technique improves.
Practicing Basic Notes
Mastering fundamental notes is crucial for developing proper oboe technique. Familiarizing yourself with fingering charts and playing octaves are key components of this process.
Fingering Chart Familiarization
Fingering charts are essential tools for learning the oboe. They illustrate which keys to press for each note. Begin by focusing on the basic notes C, B, A, and G.
Study the chart carefully, noting the finger positions for each note. Practice placing your fingers on the corresponding keys without blowing into the instrument.
Once comfortable with finger placement, attempt to produce sound. Press the keys firmly while blowing into the reed. Aim for a consistent pitch and tone for each note.
Playing Octaves
After mastering basic notes, progress to playing octaves. This skill helps develop breath control and embouchure strength.
Start with middle C and practice transitioning to the C an octave higher. Pay attention to the change in fingering and the additional air support needed for the higher note.
Imagine blowing upward rather than directly into the reed. This technique helps maintain an open embouchure and improves tone quality across octaves.
Practice octave jumps slowly, focusing on maintaining consistent tone and intonation. Gradually increase speed as your control improves.
Maintenance and Care
Proper oboe maintenance is crucial for preserving the instrument’s quality and performance. Regular cleaning and careful handling protect the delicate components and ensure optimal playing conditions.
Daily Cleaning Routines
Cleaning an oboe after each use is essential. Start by removing the reed and placing it in its case. Use a swab to remove moisture from the interior of each joint.
Pass the swab through the upper joint first, then the lower joint. Be gentle to avoid damaging the mechanism. Wipe the exterior with a soft, lint-free cloth to remove fingerprints and oils.
Clean the keys carefully with a small brush to remove any debris. Pay special attention to the octave vents and tone holes. Avoid using harsh chemicals or abrasive materials that could damage the finish or mechanism.
Handling and Storage
Always handle the oboe with care. Hold it by the upper joint when assembling or disassembling to prevent bending the bridge key. Avoid touching the keys unnecessarily to reduce wear and potential damage.
Store the oboe in its case when not in use. Place the instrument in a stable environment away from extreme temperatures and humidity. Avoid storing it near heating vents, air conditioners, or in direct sunlight.
Use a humidifier in dry climates to prevent cracking of wooden oboes. Apply bore oil sparingly to wooden oboes as recommended by the manufacturer to protect against moisture damage.
Troubleshooting Common Issues
Addressing issues with reed adjustments and intonation corrections can significantly improve oboe performance. These techniques help players overcome common obstacles and achieve a more refined sound.
Reed Adjustments
Reed adjustments are crucial for optimal oboe performance. If the reed is too hard, try gently squeezing the sides to soften it. For a reed that’s too soft, carefully trim the tip using a sharp knife.
Fingering tips can also affect reed response. Ensure proper half-hole technique by opening and closing the left hand like a doorknob motion.
To improve reed control, practice playing tunes on the reed alone. This exercise strengthens facial muscles and enhances embouchure control.
Intonation Corrections
Intonation issues often stem from improper breath support or reed placement. Players should focus on maintaining consistent air pressure and adjusting their embouchure as needed.
For sharp notes, try using alternative fingerings or slightly pulling out the reed. Flat notes can be corrected by pushing the reed in or adjusting lip pressure.
Water in the keys can cause intonation problems. To remove it, swab the oboe or use cigarette paper to absorb moisture from affected keys.
Regular tuning exercises with a chromatic tuner help develop pitch awareness. Players should practice long tones and scales while monitoring their intonation to improve overall pitch accuracy.
Advancing Your Skills
Developing advanced oboe techniques requires focused practice on articulation and dynamic control. These skills allow players to express greater musical nuance and emotion through their performances.
Articulation Techniques
Mastering articulation involves precise tongue movements to shape note beginnings and endings. Single tonguing is the foundation, where players use “tu” or “du” syllables to start each note. Double tonguing employs alternating “tu-ku” syllables for rapid passages.
Triple tonguing uses “tu-ku-tu” patterns for even faster articulation. Slur techniques connect notes smoothly without tonguing. Staccato playing requires short, detached notes with crisp tongue stops.
Practice scales and arpeggios with varied articulations to build control and speed. Experiment with different tongue placements on the reed to find optimal articulation points.
Dynamics and Expression
Controlling dynamics on the oboe requires precise breath and embouchure adjustments. To play softly, use less air and tighten the embouchure slightly. For louder passages, increase air speed and relax the embouchure.
Crescendos and diminuendos demand gradual changes in breath support and lip pressure. Practice long tones, focusing on smooth transitions between dynamic levels.
Vibrato adds expressive warmth to sustained notes. Generate vibrato by pulsing the diaphragm or subtly wavering jaw pressure on the reed. Start slowly and increase speed as control improves.
Explore different reed strengths to find the ideal balance between dynamic range and tonal quality. Softer reeds offer more flexibility but may lack projection in forte passages.