
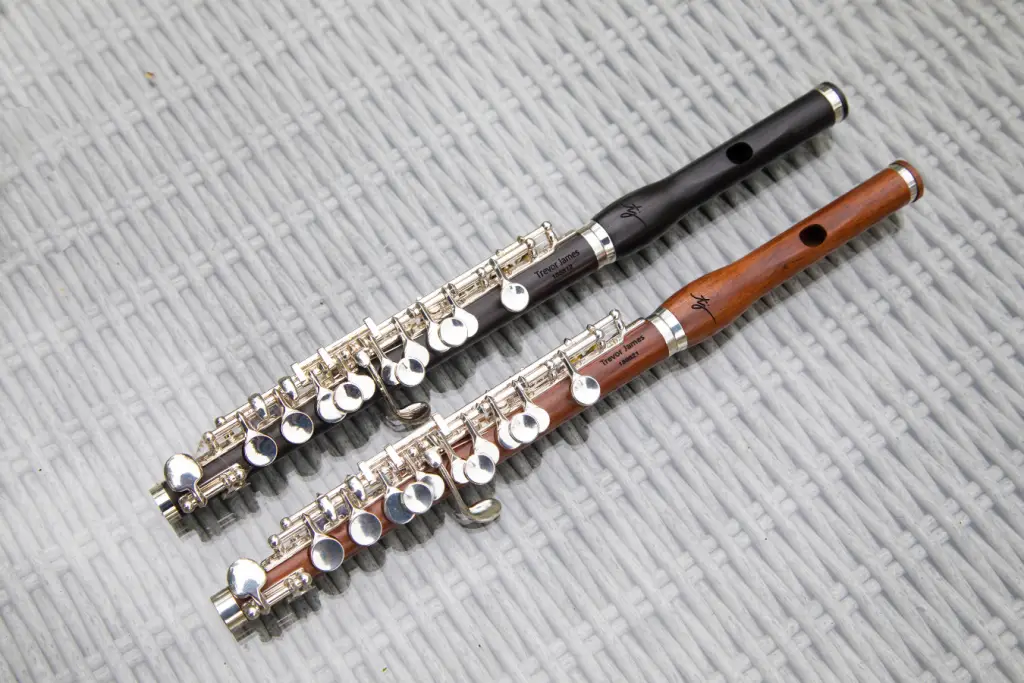
Piccolo players know the importance of proper cork placement for optimal sound quality and intonation. The headjoint cork, a small but crucial component, requires periodic adjustments to maintain its ideal position.
To adjust the piccolo cork, gently remove the crown and use the cleaning rod to push or pull the cork assembly until the mark on the rod aligns with the center of the embouchure hole. This alignment ensures proper tuning and resonance across all registers.
Piccolo cork adjustments differ slightly from those of a flute due to the instrument’s smaller size. The cork movement for a piccolo should be minimal, often as small as the width of a period on a printed page. Regular maintenance and careful adjustments can significantly improve a piccolo’s performance and responsiveness.
Understanding the Piccolo Cork
The piccolo cork is a crucial component that affects the instrument’s sound and playability. It requires proper care and adjustment to ensure optimal performance.
Function of the Piccolo Cork
The piccolo cork serves as an airtight seal between the headjoint and body. It helps maintain proper air pressure within the instrument, which is essential for producing clear, resonant tones. The cork’s position directly impacts the piccolo’s intonation and responsiveness.
Proper cork placement is vital for achieving balanced octaves. When correctly positioned, it allows all three octaves of D to be played in tune without changing fingerings. Slight adjustments to the cork’s position can significantly affect the instrument’s overall tuning.
Cork placement also influences the piccolo’s highest notes. Finding the ideal position often involves a delicate balance between octave tuning and upper register responsiveness.
Types of Piccolo Corks
Piccolo corks are typically made from natural cork material, similar to those used in flutes. However, some modern piccolos may use synthetic cork alternatives.
Natural cork offers excellent sealing properties and a traditional feel. It requires regular maintenance, including lubrication with cork grease to prevent drying and cracking.
Synthetic corks are more durable and resistant to environmental changes. They require less maintenance but may lack the warmth and flexibility of natural cork.
Some piccolo models feature a tenon cap to protect the cork when the instrument is disassembled. This accessory helps preserve the cork’s shape and integrity during storage.
Adjusting the Cork Position
The cork’s position in a piccolo headjoint affects intonation and tone quality. Proper adjustment ensures optimal performance across all registers.
Initial Positioning
Start by inserting a cleaning rod into the headjoint. The rod should have a mark indicating the ideal cork position. This mark should align with the center of the embouchure hole when the rod is fully inserted.
If the mark is not visible, the cork may be too far in. Gently push the cork outward using the threaded end of the cleaning rod. If the mark appears before reaching the embouchure hole, the cork is too far out. In this case, use the rod to push the cork inward.
Cylindrical piccolo headjoints may require slight variations in cork positioning compared to conical designs.
Fine-Tuning the Placement
Once the cork is roughly positioned, fine-tune its placement. Play the piccolo, focusing on intonation across all registers. If low notes are flat and high notes are sharp, move the cork slightly outward. Conversely, if low notes are sharp and high notes are flat, push the cork inward.
Make small adjustments, as even minor changes can significantly impact tuning. Test the piccolo’s response and tone quality after each adjustment. A well-positioned cork should allow for even tuning and consistent tone across all octaves.
Regular checks are essential, especially for wooden piccolos, as wood expands and contracts with environmental changes. Use a small amount of cork grease to maintain smooth movement and prevent damage during adjustments.
Testing for Proper Adjustment
Proper piccolo cork adjustment is crucial for optimal instrument performance. Accurate testing ensures the cork is positioned correctly, affecting tuning, tone quality, and playability.
Tuning and Sound Check
Begin by playing the piccolo’s low D and high D notes. Compare their pitches using a tuner. The high D should be exactly one octave above the low D. If not, cork adjustment may be necessary.
Next, play a chromatic scale from low D to high D. Listen carefully for any notes that sound stuffy or out of tune. Pay special attention to the instrument’s low register, as it’s often affected by cork position.
Test the piccolo’s responsiveness by playing soft attacks on various notes. A properly adjusted cork allows for quick and easy note production across all registers.
Adjustment Verification Techniques
Use a headjoint alignment rod to check cork position. Insert it into the headjoint and align the end with the embouchure hole’s center. The rod’s marking should line up with the outer edge of the piccolo body when assembled.
Perform octave jumps between low and high notes. The transition should be smooth and effortless. If it’s difficult or produces unstable sounds, further cork adjustment may be required.
Check intonation across different dynamic levels. Play sustained notes at piano and forte volumes, ensuring pitch stability. An incorrectly positioned cork can cause pitch fluctuations as dynamics change.
Lastly, have a colleague listen while you play. They can provide valuable feedback on tone quality and projection, which are influenced by proper cork adjustment.
Maintenance of the Piccolo Cork
Proper maintenance of the piccolo cork ensures optimal instrument performance and longevity. Regular checks and occasional replacement are essential to maintain a good seal and smooth assembly.
Regular Checks and Balancing
Cork grease should be applied to the tenon cork before assembling the piccolo. This helps create an airtight seal and allows for easier assembly.
Players should inspect the cork regularly for signs of wear or damage. If the cork appears dry or cracked, apply a thin layer of cork grease.
To maintain cork balance, rotate the headjoint slightly each time the piccolo is assembled. This prevents uneven wear on one side of the cork.
When not in use, store the piccolo with the tenon cap on to protect the cork from damage.
Replacing the Cork
Cork replacement is necessary when it becomes too worn or damaged to maintain a proper seal. Signs that replacement is needed include difficulty in assembly, air leaks, or visible deterioration.
Professional repair technicians should handle cork replacement to ensure proper fit and seal. They will remove the old cork, clean the tenon, and apply a new cork precisely cut to size.
After replacement, allow 24-48 hours for the new cork to settle before playing. Apply cork grease sparingly to the new cork before first use.
With proper care and timely replacement, the piccolo cork can maintain its function for several years, ensuring consistent instrument performance.